Apply image to face
Script for Photoshop CS5.1 – CC 2017
This script was developed for automating the process of color correcting skin tones. The main idea was borrowed from Dan Margulis which is to take the Green channel and apply it to Yellow and Magenta using the Apply image command. This approach works especially well for photos taken in conditions with a few light sources which have light different temperatures. In such a situation, skin areas contain extremely bright colors: mostly magenta and yellow.
Prerequisitions:
- All layers should be flattened; no transparency
- Duplicate the Green channel before running the script ( Green copy channel should exist)*
- Obviously an image should be open in Photoshop
- The image should be in CMYK
* Sometimes I forget to duplicate the Green channel in proper time before switching to Lab or CMYK mode. In this case I simply create a new snapshot, then temporarily click the first snapshot created on opening (or another one when the image was still in RGB), click the Green channel, select all, copy, go back to the last snapshot, create a new channel, paste, rename it to Green copy.
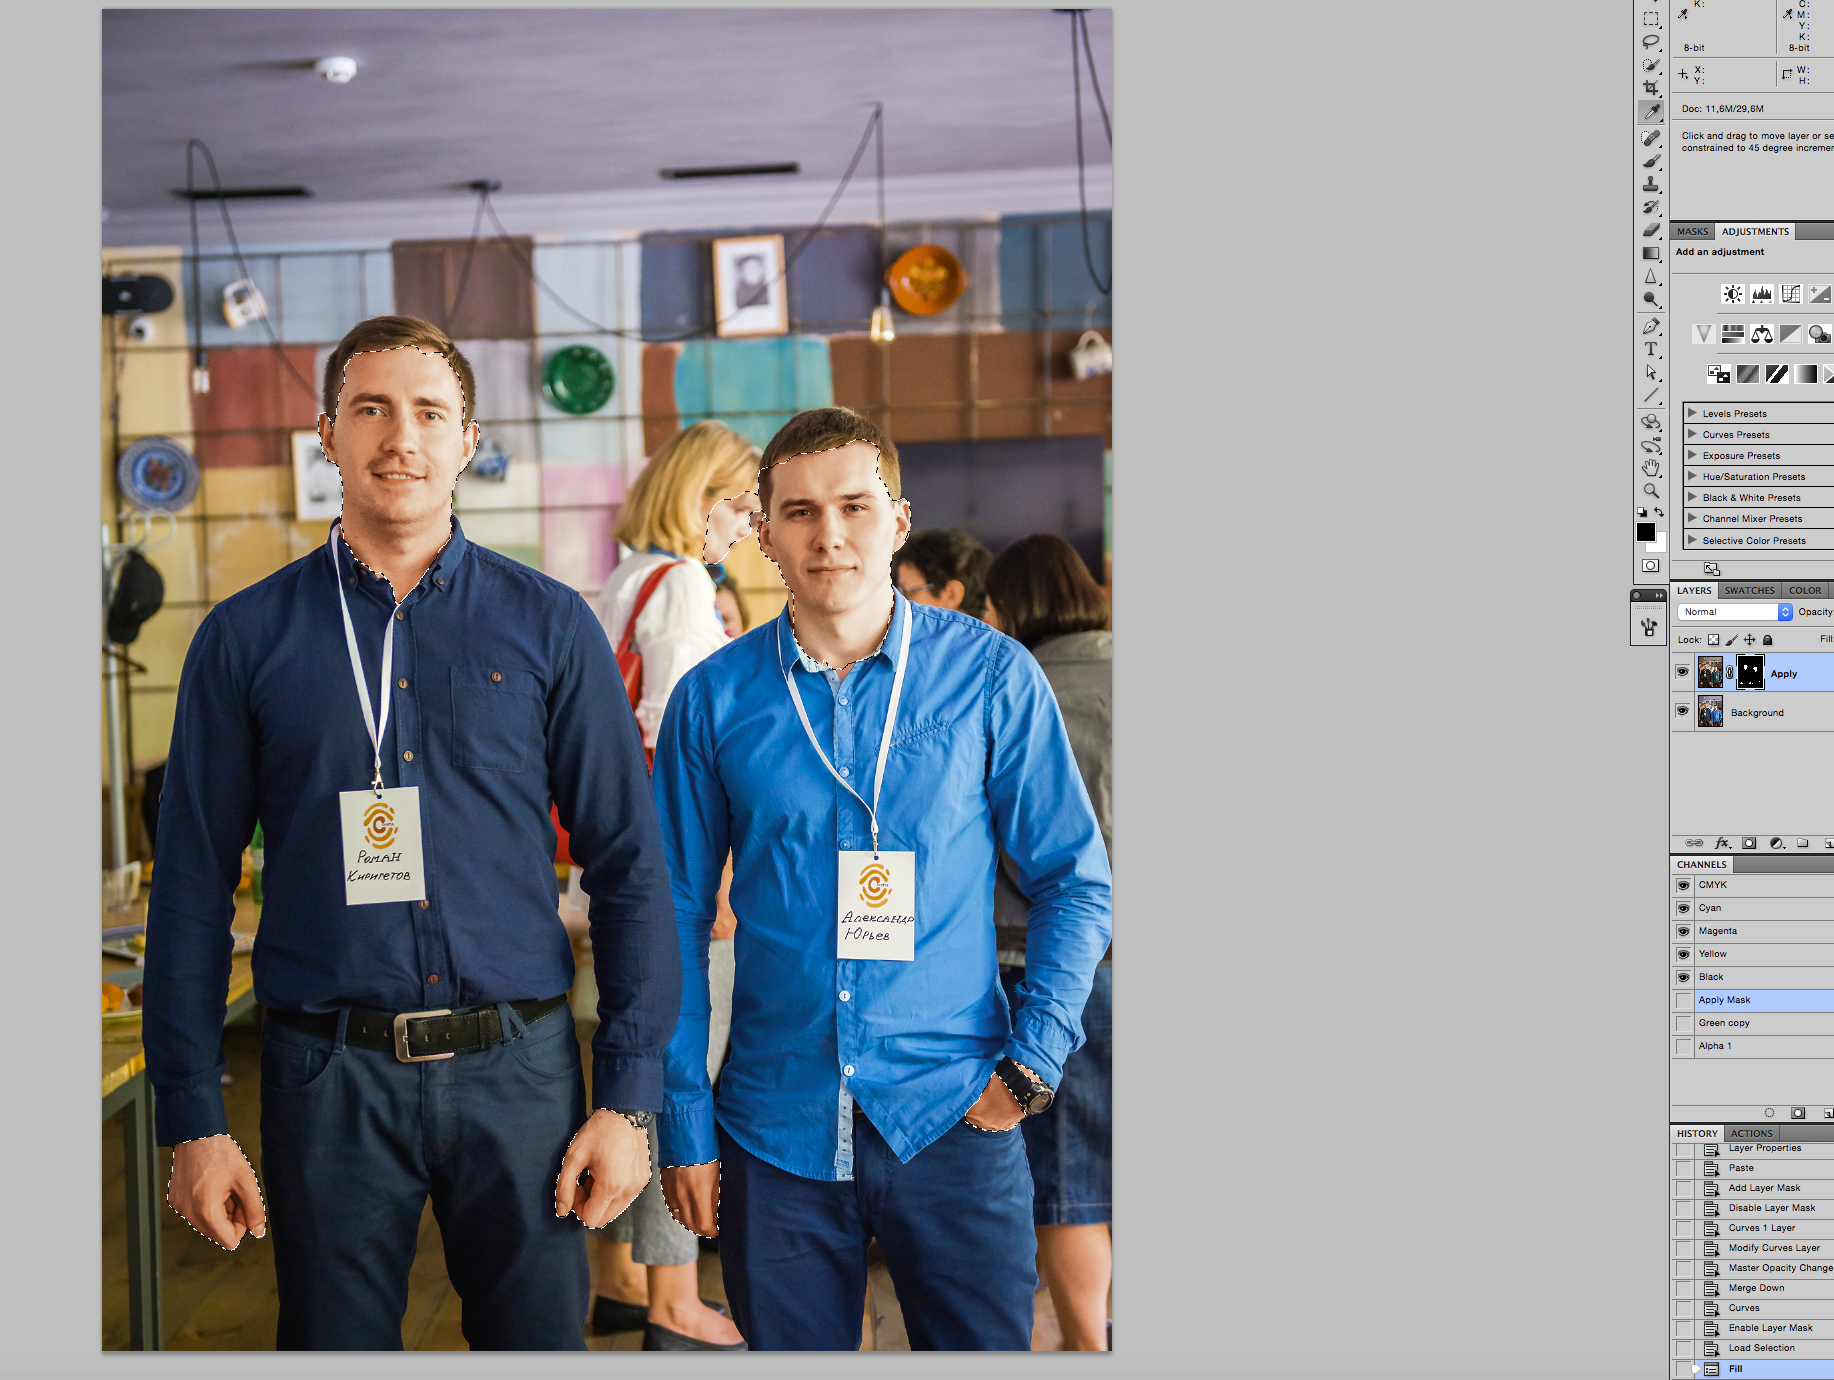
Before running the script, I usually make a rough selection of face(s) and hands using the red channel as a starting point with either Quick selection tool or Magnetic lasso and apply feather about 2-4 px, but it isn't obligatory, of course.

The script creates the Apply layer on top with the layer mask turned off.
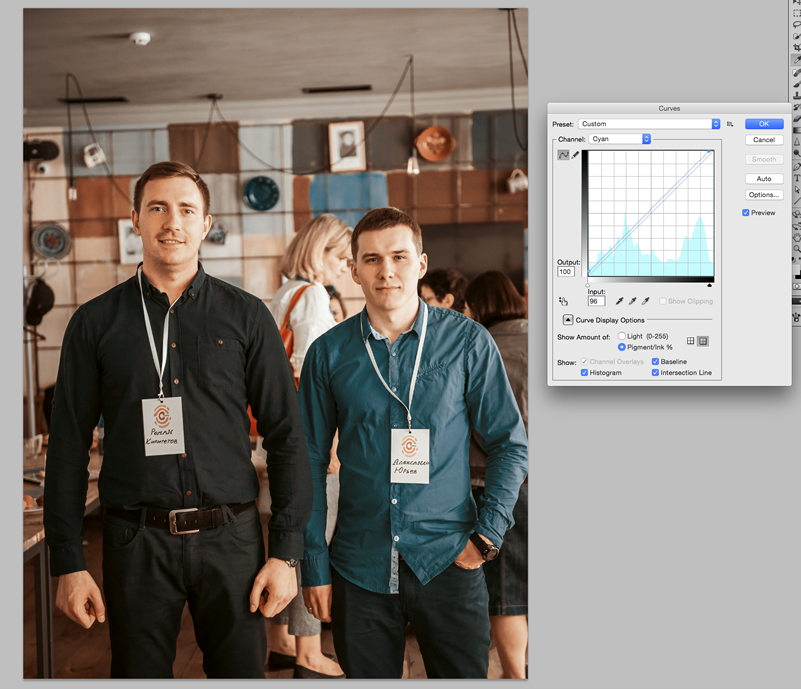
I usually either add more Yellow, or reduce some Magenta after running the script.
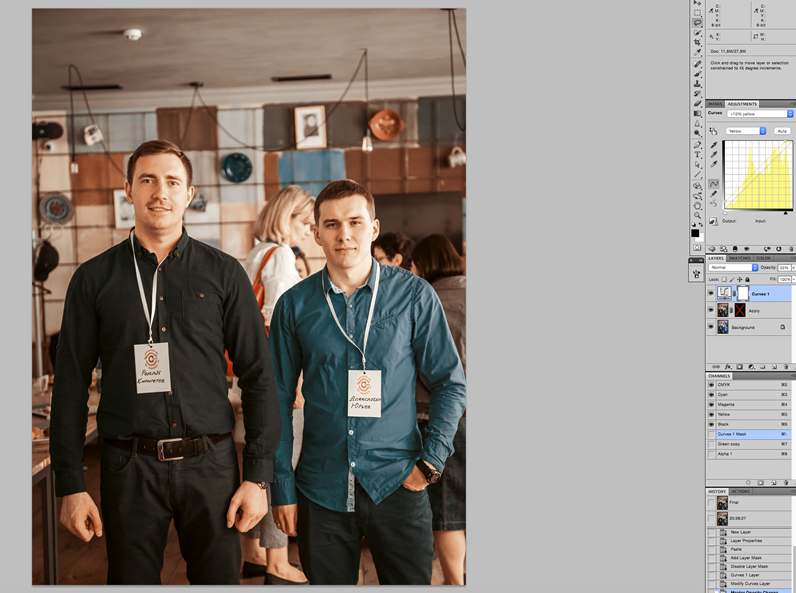
Also, I add a little Cyan to desaturate skin color.
Finally, I turn the layer mask on and restore the skin areas: paint with white color or apply the pre-made selection to the layer mask.
Download the script from here.